


Quick answer: An inside mount places the shade within the window opening. An outside mount places it on the wall or trim around the opening. Choose the mount before measuring: the right choice depends on usable depth, obstacles, light coverage and the exact shade configuration.
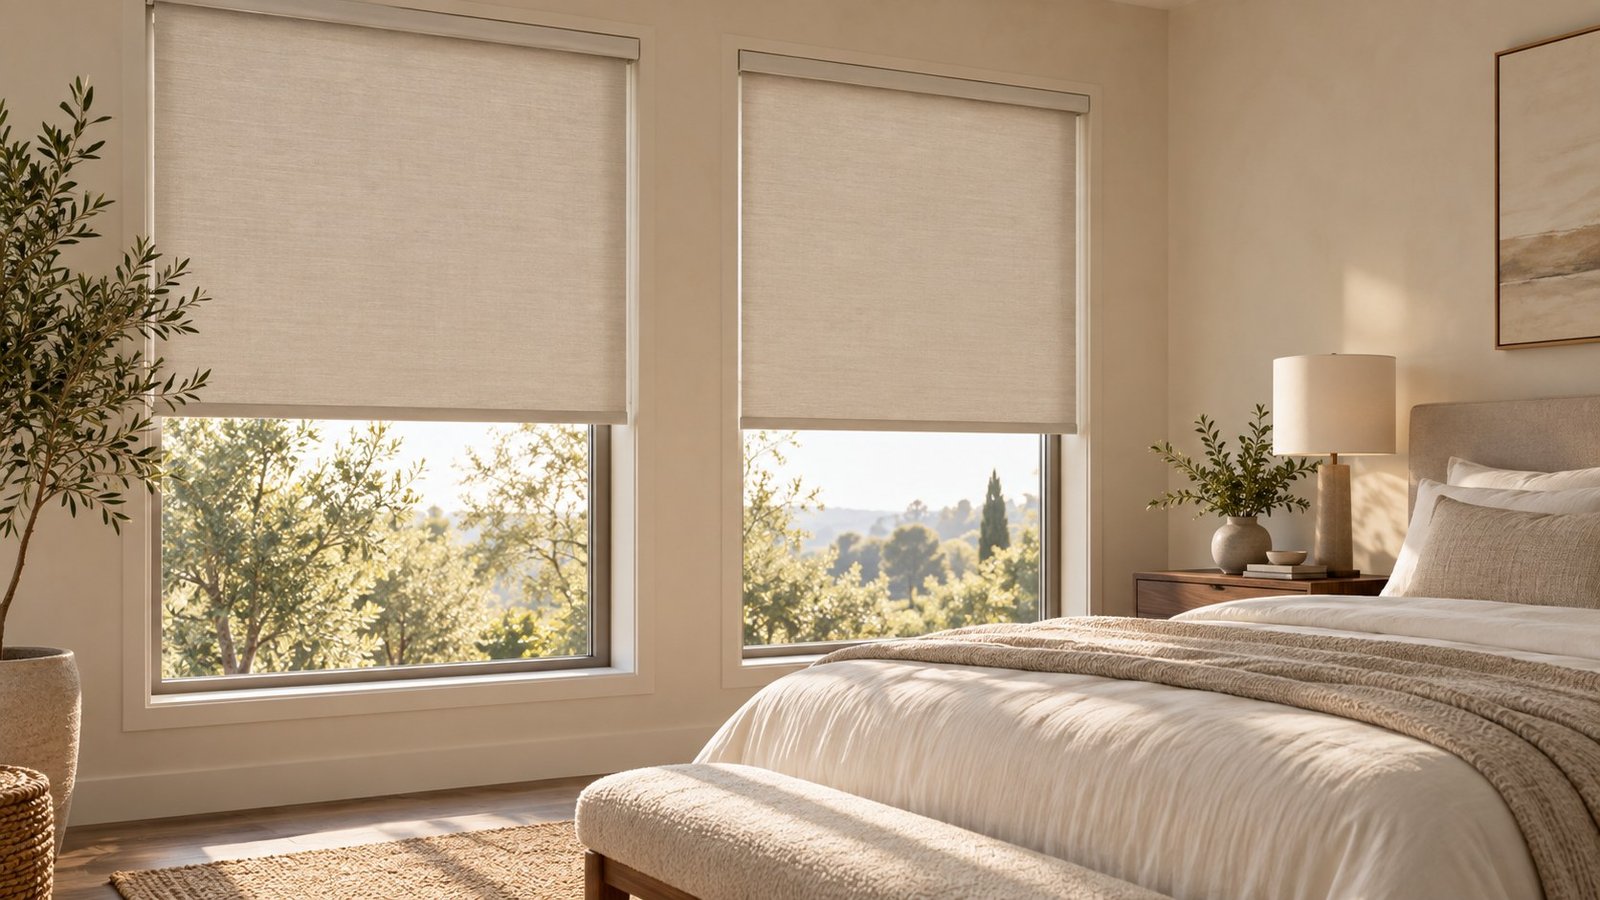
The room image is AI-generated design inspiration, not a measurement diagram or proof of a specific product’s installation.
Inside vs outside mount at a glance
| Decision | Inside mount | Outside mount |
|---|---|---|
| Visual effect | Keep the treatment within the opening and show more of the surrounding trim. | Cover more of the opening or trim with a treatment mounted around it. |
| Space to check | Unobstructed recess depth and room for brackets, headrail and moving fabric. | A suitable flat mounting surface and clearance for the projected shade. |
| Light control | Check expected side gaps for your exact configuration. | Plan overlap and finished fabric coverage; darkness is not automatic. |
| Order dimensions | Follow the seller’s opening-measurement and deduction rules. | Follow the seller’s finished-size and overlap instructions. |
Choose inside mount when the recess works
Start with the usable space where the shade will sit, rather than the deepest part of the sill. Blinds.com advises checking for handles, cranks, sensors and trim that intrude into the opening. A window may look deep while providing very little clear space for a headrail.
Ask for two separate specifications: minimum mounting depth and flush mounting depth. The first tells you whether the chosen setup can be installed; the second tells you whether it can sit fully within the recess. SelectBlinds lists these separately and notes that requirements can change with options.
Recheck depth after selecting the motor, cassette or lift style. Save the specification for that configuration instead of relying on a general category guide.
Choose outside mount when coverage or clearance matters
Consider outside mount if the recess is too shallow or an obstruction prevents a suitable inside installation. It can also provide space to overlap the opening. Confirm that the wall or trim provides the mounting surface required by the brackets.
Mark the intended headrail position and shade edges with removable tape. Check whether the shade can travel past handles and whether its raised position leaves the opening usable. If curtains will sit in front, plan their position together with the shade.
For a bedroom, review the blackout light-gap checklist. A blackout fabric controls transmission through the panel; it does not resolve every gap around it.
Headrail width and fabric width can differ
On a roller shade, hardware takes up space. The ordered width may describe the overall assembly rather than the fabric itself. SelectBlinds’ roller chart lists separate headrail and fabric deductions, including for some outside-mount configurations.
Ask the seller: “For my selected mount and lift, what will the finished fabric width be?” Use the answer to check glass coverage. Do not assume the panel will cover every inch of the width entered on the order form. See our 34-inch window example: order width vs fabric coverage for the calculation.
Use this checklist before submitting dimensions
- Name each window. Record the room and window position; do not copy a nearby window’s measurements.
- Save the configuration. Note shade type, mount, lift, cassette and lining.
- Read the matching guide. Confirm where to measure, which measurement to use and how to round.
- Check deductions. Some sellers apply them at the factory. Do not subtract a clearance unless your instructions require it.
- Confirm outside overlap. Use the specific product’s instructions rather than a universal addition.
- Check equipment and obstacles. Include handles, bracket surfaces, curtains and charging access where relevant.
For a rental, mount position and drilling are separate questions. Read our no-drill shade fit checklist before assuming an inside mount can use a tension system.
Start with the constraint at your window
| Your situation | What to check next | Save with the quote |
|---|---|---|
| The recess looks shallow | Usable depth at the intended headrail position and the chosen configuration’s minimum depth | Depth specification and seller confirmation of the proposed mount |
| A handle or crank projects into the opening | Clearance while the shade moves and the window opens | A window photo and the agreed mounting position |
| Bedroom darkness is the priority | Finished fabric width, overlap, projection and any second treatment | The full coverage plan alongside the blackout fabric choice |
| You want to avoid drilling | Requirements of the exact no-drill mechanism, including frame suitability | The product-specific ordering rule and installation instructions |
Copy this seller request: “For [window label], I am considering [shade, lift and cassette] with [inside/outside] mount. The usable recess depth is [value], and the obstructions are [details]. Please confirm the bracket position, required clearances, dimensions to enter and finished fabric coverage for this configuration.”
Frequently asked questions
Does outside mount mean installed outdoors?
No. It describes the shade’s position relative to the window opening. Outdoor suitability is a separate product specification.
Should I subtract from an inside-mount width?
Only if the exact seller’s instructions tell you to. SelectBlinds’ roller guide tells buyers not to make their own factory deductions.
Is outside mount always better for blackout?
Compare the complete coverage plan. Fabric width, overlap, projection and any second treatment all matter.
Sources & editorial notes
Manufacturer information checked October 7, 2026. This research-based guide is not a hands-on installation test. Follow the current instructions for the product you buy.
- SelectBlinds: roller shade measuring rules, depth and deductions
- Blinds.com: inside and outside mount explained
Browse all buying guides → Compare complete configured quotes →
Choose the mount, then confirm the details.
Connect your window-fit decision with measuring rules, light coverage and the complete price.
Planning a no-drill setup?
Confirm frame suitability and the exact product’s measuring rule.
Read the guide →
Check edge coverage.
Review light gaps before choosing your bedroom configuration.
Read the guide →
Compare the complete quote.
Keep the mount, lift and accessories consistent across sellers.
Read the guide →